

How to Perfectly Apply Heat Press Patches?
The Perfect way to Apply Heat Press / Iron-on Patches to your Garments!
Heat press patches are a fantastic way to personalize clothing, accessories, and fabric-based items. Whether customizing a jacket, adding a logo to a backpack, or creating unique gifts, heat press patches offer an easy and durable solution. Their versatility and ease of application make them increasingly popular for personal and professional projects.
However, some essential steps exist to achieve a professional, lasting result. In this guide, we'll take you through everything you need about heat press patches—from tools and techniques to pro tips and common mistakes to avoid. You'll be ready to create custom designs like a pro by the end!
What Are Heat Press Patches?
Heat press patches (iron-on or heat transfer patches) are pre-made designs with a special adhesive backing. This adhesive activates when heated, bonding the patch to the fabric surface securely. The process is simple yet effective, making heat press patches a favorite choice for adding designs to clothes, bags, and more.

- Easy Application: No sewing skills required; just heat and pressure.
- Durability: Patches last long and resist wear and tear.
- Versatility: Suitable for various fabrics, including cotton, denim, and canvas.
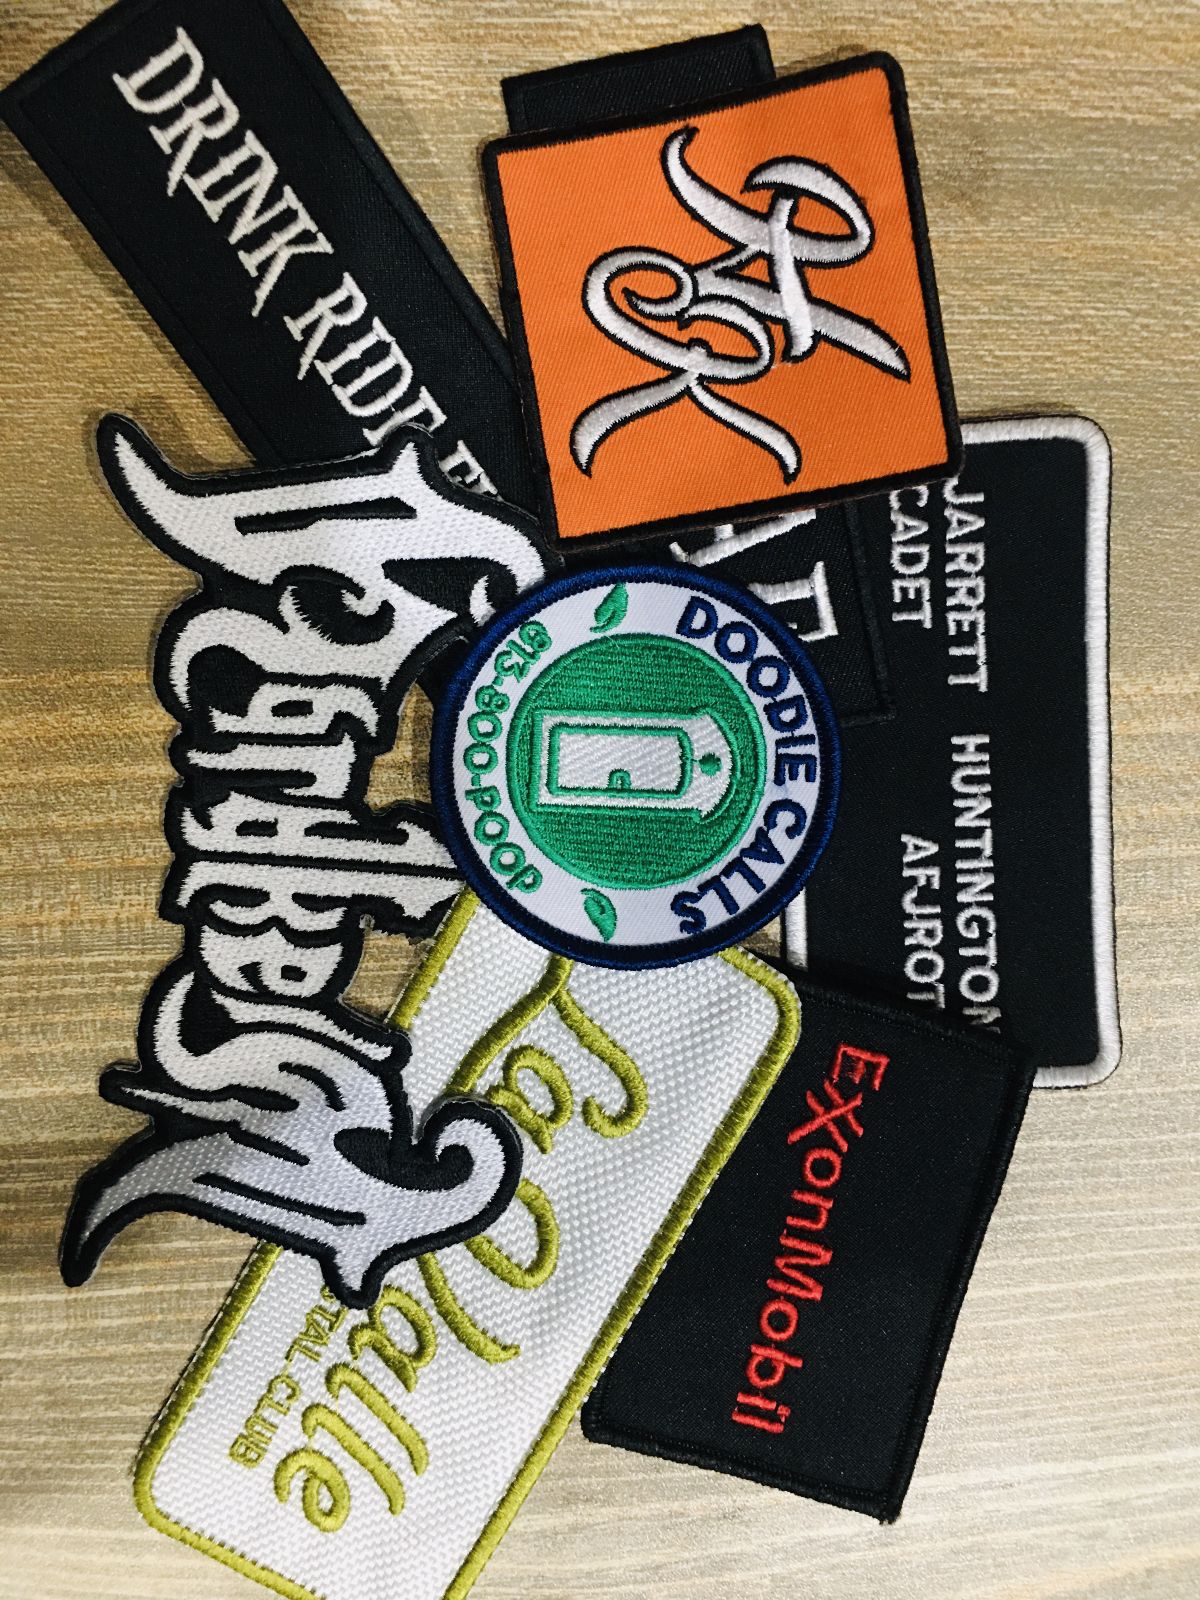
For those already familiar with computerized embroidery, you'll find that heat press patches complement embroidered designs beautifully, offering an alternative method for customization. These patches are commonly used for:
- Personalization: Adding names, logos, or decorative elements.
- Branding: Great for uniforms, team apparel, or promotional items.
- Creative Projects: Ideal for custom jackets, backpacks, and hats.
Tools and Materials Required for Applying Heat Press Patches
Before diving into the application process, ensure you have the right tools and materials to make the process seamless. Here's what you’ll need:
Essential Tools and Materials:
- Heat Press Machine: The most efficient way to apply heat press patches. If unavailable, a household iron works too.
- Heat Resistant Tape: Keeps your patch in place during the pressing process.
- Teflon Sheets or Parchment Paper: Protects the fabric and patch from direct heat.
- Fabric or Garment: The item you want to customize (T-shirt, jacket, bag, etc.).
- Measuring Tools: Rulers or tape measures help align your patch perfectly.
Optional Add-ons:
- Lint Roller: Ensures the fabric is free of dust or debris for a clean application.
- Protective gloves: helpful if you're working with a hot press.
Preparing these tools beforehand’ll make the application process smoother and more efficient.
Step-by-Step Guide to Applying Heat Press Patches
Here's how you can perfectly apply heat press patches in just a few simple steps:
Preheat Your Heat Press Machine
- Set your heat press to the manufacturer's recommended temperature (typically 300°F to 350°F).
- If using a household iron, set it to high heat and ensure the steam function is off.
Pro Tip: Always refer to the patch manufacturer's instructions for precise temperature and pressure settings.
Prepare the Fabric
- Clean your fabric by removing dust or lint with a lint roller.
- Preheat the fabric for 2-3 seconds. This removes moisture and smooths wrinkles, ensuring better adhesion.
Position the Patch
- Place the patch on your fabric and align it using a ruler or tape measure. Precision is key!
- Secure the patch with heat-resistant tape to keep it from shifting during the pressing process.
Proper placement ensures a professional-looking result when making patches for clothing, such as T-shirts or jackets.
Apply Heat
- Cover the patch with a Teflon sheet or parchment paper to protect it and the fabric from direct heat.
- Press down with your heat press or iron for 10-15 seconds, applying firm, even pressure.
Pro Tip: Avoid sliding the iron; press down firmly to distribute heat evenly.
Let It Cool
- Allow the patch to cool for 30-60 seconds. This helps the adhesive fully bond with the fabric.
Inspection and Final Touches
- Check the edges of the patch. If any parts are lifting, press them again for 5-10 seconds.
For larger patches or thicker materials like denim, repeat the pressing process in sections for full adhesion.
Pro Tips for Perfect Application
Achieving a flawless finish takes practice, but these tips will help you get it right every time:
- Test First: Try applying a patch to scrap fabric to fine-tune the heat and pressure settings.
- Preheat the Fabric: This small step can significantly improve the bond.
- Use Medium Pressure: Too much pressure can damage the fabric, while too little may result in weak adhesion.
- Don't Rush Cooling: Allow the patch to be set properly before handling it.
Common Mistakes to Avoid
Even with the best tools and instructions, mistakes can happen. Here are a few common pitfalls to steer clear of:
- Using the incorrect temperature:
- Too low, and the adhesive won't activate.
- Too high, and the fabric or patch may scorch.
- Skipping protective layers:
- Always use Teflon sheets or parchment paper to protect your project.
- Misalignment:
- Take time to measure and align your patch correctly for a professional look.
- Handling the Patch Too Soon:
- Let the patch cool entirely before checking it.
Conclusion
Applying heat press patches is a simple yet highly effective way to personalize clothing and accessories. Whether you're creating designs for personal use, crafting Custom Name Embroidered Patches for your business, or exploring the possibilities of computerized embroidery, heat press patches offer flexibility and style.