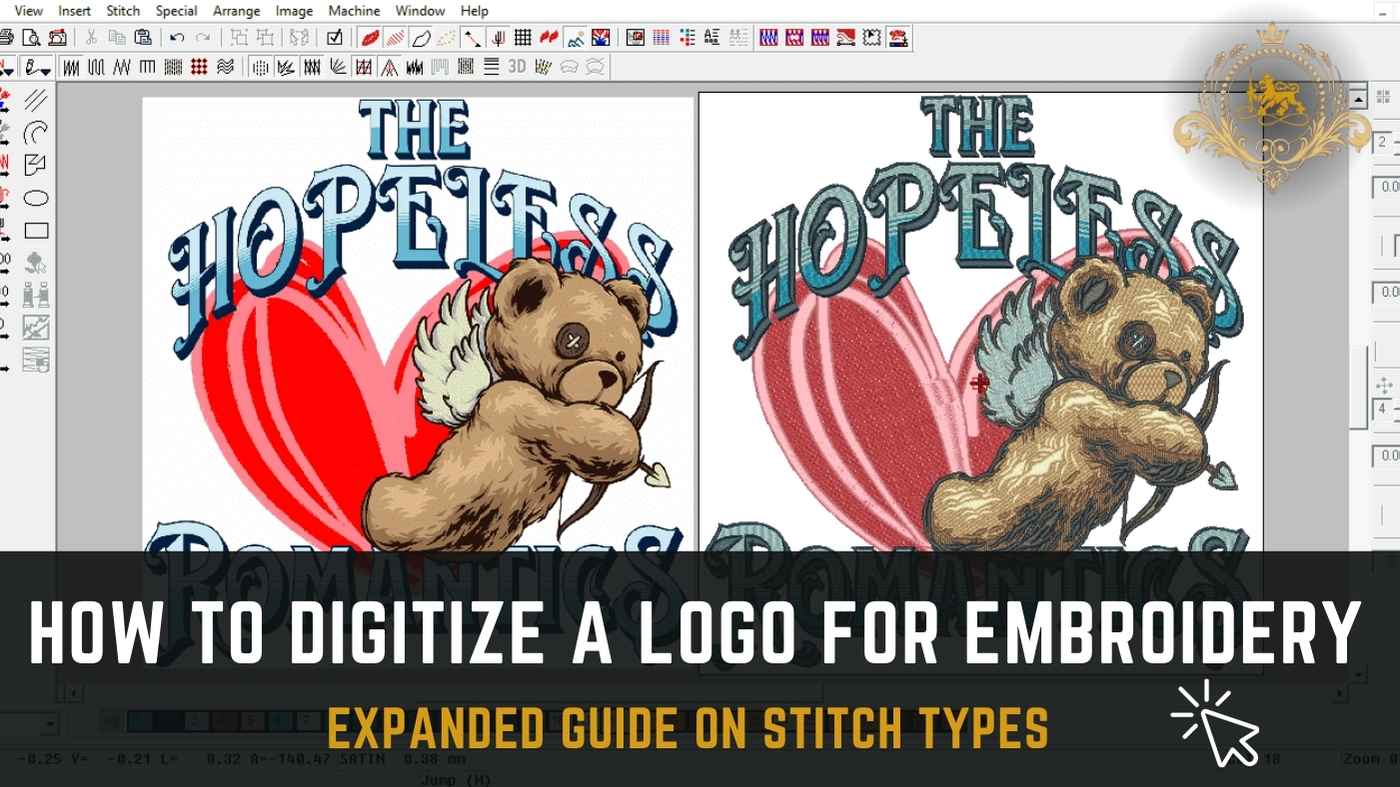
How to Digitize a Logo for Embroidery: Expanded Guide on Stitch Types
Learn how to digitize a logo for embroidery with this beginner-friendly guide! Master the steps, tools, and tips to create stunning, stitch-ready designs.
Embroidery stitch types form the foundation of any digitized design. In professional software like Wilcom, various stitches offer unique aesthetics and functional benefits. Below is a detailed overview of stitch types available in Wilcom and their applications in embroidery digitizing.
Stitch Types in Wilcom Software
1. Satin Stitch
-
Description: Satin stitches create a smooth, shiny texture, perfect for outlines, borders, and text.
-
Best Uses:
-
Text, especially small and medium-sized letters.
-
Outlines of shapes or curved designs.
-
Customization in Wilcom:
-
Column Width: Control stitch length to avoid excessive gaps or overlapping. For widths >8 mm, consider splitting to prevent thread breakage.
-
Auto-Split: Automatically divides long satin areas into smaller sections for better stitch integrity.
-
Tips:
-
Avoid excessive density, as it can lead to thread jams or fabric puckering.
2. Fill Stitch (Tatami Stitch)
-
Description: Used to cover large areas with evenly spaced stitches, providing texture and depth.
-
Best Uses:
-
Background areas.
-
Logos with solid shapes or large objects.
-
Customization in Wilcom:
-
Pattern Adjustments: Use decorative fill patterns like wave or crosshatch for creative effects.
-
Gradient Fills: Create a smooth transition between dense and sparse areas for shading.
-
Tips:
-
Match fill density to fabric type. Denser fills work for sturdy materials like denim, while lighter fills are better for delicate fabrics like silk.

The output is: 3. Run Stitch
-
Description: A continuous stitch line ideal for fine details, outlines, or connecting design elements.
-
Best Uses:
-
Thin borders and intricate designs.
-
Underlays to stabilize satin and fill stitches.
-
Customization in Wilcom:
-
Manual Run: Gives full control over stitch placement.
-
Triple Run: Strengthens outlines by layering three passes of thread.
-
Tips:
-
Keep stitch length consistent to maintain clarity in small details.
4. Zigzag Stitch
-
Description: A zigzag pattern commonly used as an underlay or for decorative purposes.
-
Best Uses:
-
Underlay for wide satin stitches to stabilize fabric.
-
Decorative borders or patterns.
-
Customization in Wilcom:
-
Adjust width and density for varied effects, from bold to subtle.
-
Tips:
-
Combine with other stitches for unique textures.
5. E-Stitch (Overlock Stitch)
-
Description: Resembles a hand-sewn blanket stitch, often used for finishing edges.
-
Best Uses:
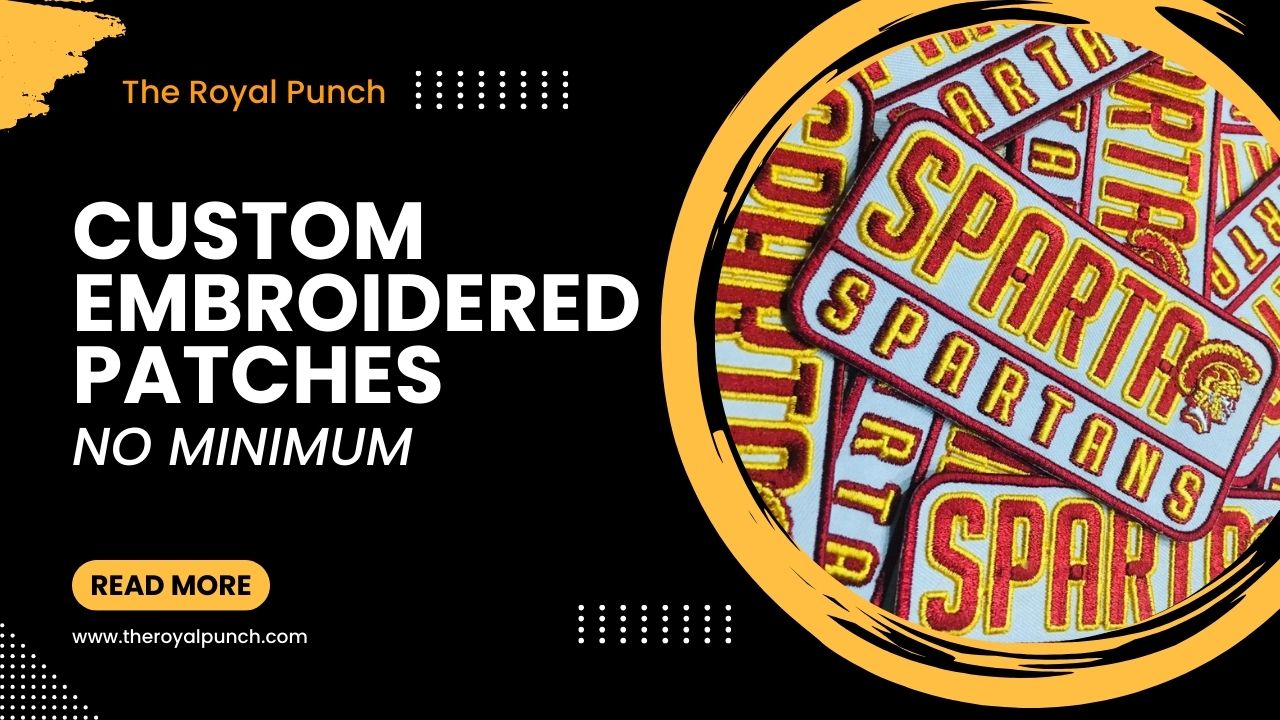
-
Decorative edging on patches or appliqués.
-
Customization in Wilcom:
-
Modify the angle and spacing to achieve desired visual effects.
-
Tips:
-
Use contrasting thread colors for striking designs.
6. Motif Stitch
-
Description: Creates repetitive decorative patterns like flowers or geometric shapes.
-
Best Uses:
-
Borders, backgrounds, or standalone accents.
-
Customization in Wilcom:
-
Select from built-in motifs or create custom designs.
-
Tips:
-
Ensure motifs are scaled correctly to avoid distortion on fabric.
7. Cross-Stitch
-
Description: Mimics traditional cross-stitch embroidery, perfect for vintage or decorative designs.
-
Best Uses:
-
Craft-inspired logos or monograms.
-
Customization in Wilcom:
-
Adjust stitch size to suit the scale of your design.
-
Tips:
-
Best suited for non-stretch fabrics to maintain alignment.
8. Program Split
-
Description: Used to split fill areas into visually appealing sections with creative patterns.
-
Best Uses:
-
Large shapes where a flat fill would appear too monotonous.
-
Customization in Wilcom:
-
Choose from predefined splitting patterns or create your own.
-
Tips:
-
Experiment with splits to add dimensionality to your designs.
9. Appliqué Stitch
-
Description: Designed to attach appliqué fabric pieces with clean edges.
-
Best Uses:
-
Large logos or cost-effective designs.
-
Customization in Wilcom:
-
Set tack-down stitches and cover stitch settings for a neat finish.
-
Tips:
-
Match the appliqué fabric with the base material for cohesive results.
10. Blend Stitch
-
Description: Allows smooth transitions between thread colors and densities.
-
Best Uses:
-
Shading effects and gradients in designs.
-
Customization in Wilcom:
-
Adjust blending angles and color transitions to create natural effects.
-
Tips:
-
Use complementary thread colors for a professional finish.
Step 6: Tips for Selecting Stitches
-
Combine Stitches for Complexity: Use satin for outlines, fill for solid areas, and run stitches for intricate details.
-
Test Each Stitch: Always test on a similar fabric to identify potential issues with density or alignment.
-
Consider Fabric Type: Match stitch type and density to the material to avoid puckering or loose threads.
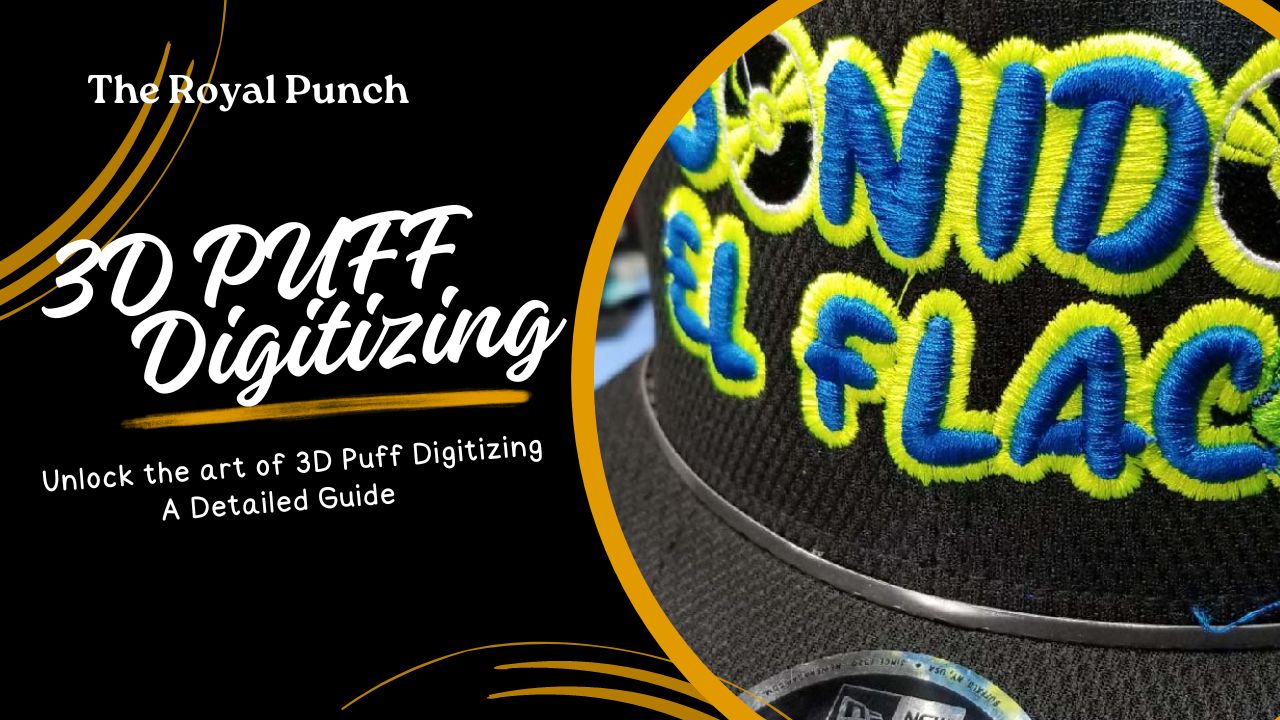
3D Puff Digitizing: A Separate Guide
3D puff digitizing is a specialized embroidery technique that creates raised, three-dimensional designs by incorporating foam under the stitches. This effect is widely used for caps, jackets, and other materials where bold and eye-catching designs are required. Here is an exclusive guide on 3D puff digitizing, including tips, tricks, and essential density settings.
Key Principles for 3D Puff Digitizing
1. Simplicity in Design
-
Opt for bold, simple designs.
-
Avoid intricate patterns, small text, or narrow spaces between elements, as these can disrupt the foam and cause uneven embroidery.
2. Element Spacing
-
Maintain enough distance between adjacent design elements to prevent overlaps and foam compression.
-
A spacing of at least 1–1.5 mm is recommended.
3. Avoid Overly Small Text
-
Use letters at least 5 mm in height to allow foam to expand uniformly under the stitches.
Satin Stitches for 3D Puff
The satin stitch is the cornerstone of 3D puff embroidery, covering the foam effectively while retaining the raised texture.
Settings for Satin Stitches
-
Density:
-
Use a reduced density of 0.2–0.3 mm. This prevents the foam from being perforated excessively, maintaining its structure.
-
Column Width:
-
Ensure column widths are 3–8 mm for proper foam coverage. Anything narrower will not fully cover the foam, and anything wider may lose the raised effect.
-
Stitch Length:
-
Longer stitches (7–8 mm) are ideal to prevent foam perforation.
Directional Stitches
-
Always start stitching from the center outward to push the foam gently into place.
Additional Stitching Techniques for 3D Puff
1. Border Compression Stitches
-
Add a small run stitch (1 mm inside the design edge) to compress foam at the edges for a cleaner finish.
2. Overlap Reduction
-
Avoid stitching directly over previously embroidered puff areas to prevent flattening the foam.
Foam Considerations
Foam Thickness
-
Use high-quality foam with a thickness of 2–3 mm.
-
Thicker foam works better for bold designs but may not suit intricate patterns.
Foam Removal
-
After stitching, carefully peel off excess foam.
-
Use a heat gun or steam to shrink any remaining foam residue for a polished appearance.
Fabric Considerations for 3D Puff
3D puff embroidery is best suited for sturdy, non-stretch fabrics, including:
-
Caps and hats.
-
Denim.
-
Canvas.
Avoid thin or stretchy fabrics, such as silk or jersey, as they lack the rigidity needed to support foam.
Wilcom Software Settings for 3D Puff
Wilcom embroidery software offers advanced tools for 3D puff digitizing:
1. Density Adjustment
-
Customize the satin stitch density to 0.2–0.3 mm for foam-friendly stitching.
2. Start and Stop Points
-
Set precise start and stop points to ensure foam remains in place during stitching.
3. Foam-Specific Underlay Settings
-
Disable underlay for puff-specific areas to avoid foam compression.
4. Preview Feature
-
Use the simulation mode in Wilcom to preview the 3D puff effect before actual stitching.
Tips and Tricks for Flawless 3D Puff Designs
-
Test Runs:
-
Always conduct a test run on scrap fabric with foam to refine settings.
-
Thread Tension:
-
Adjust thread tension to prevent foam perforation.
-
Cleaning Residue:
-
A lint roller or adhesive tape can help remove foam particles after stitching.
-
Layering:
-
For multicolor designs, stitch one puff area at a time to avoid flattening adjacent elements.
Density Settings for 3D Puff and Other Embroidery Types
1. 3D Puff Density
-
Satin Stitches: 0.2–0.3 mm.
-
Edge Compression Stitches: Light density for clean foam edges.
2. Regular Embroidery Density
-
Satin Stitches: 0.4–0.5 mm for crisp details.
-
Fill Stitches: 0.2–0.4 mm based on fabric type.
-
Run Stitches: Light density to avoid puckering.
Conclusion
Digitizing logos for embroidery requires attention to detail, with specific stitch types and densities playing a critical role in achieving a professional finish. Techniques like satin stitches, run stitches, and 3D puff add depth and character to your designs. For 3D puff, using the right foam thickness and adjusting stitch density to 0.2–0.3 mm ensures a clean, raised effect.
Wilcom software simplifies the process, allowing for precise control over stitch placement, density, and overall design integrity. With the right tools and techniques, you can elevate any embroidery project.
At The Royal Punch, we offer expert embroidery digitizing services and custom patches to help you achieve flawless designs. Happy stitching!


