Computerized Embroidery: A Beginner’s Guide
Find out how computerized embroidery transforms designs into stunning stitched creations with ease, plus tools and tips for perfect results in no time.
Computerized Embroidery: A Beginner’s Guide
Embroidery is a beautiful art form where you use thread to stitch designs onto fabric. For centuries, people have done this by hand, creating stunning and detailed patterns. But hand embroidery can take a long time and requires a lot of skill. That’s where computerized embroidery comes in! This modern method lets machines do the hard work while you sit back and watch your design come to life.
Whether you're just curious about computerized embroidery or want to try it yourself, this guide will walk you through everything you need to know. We’ll explore what computerized embroidery is, how it works, the tools you need, and why it’s such a popular choice today.
What is Computerized Embroidery?
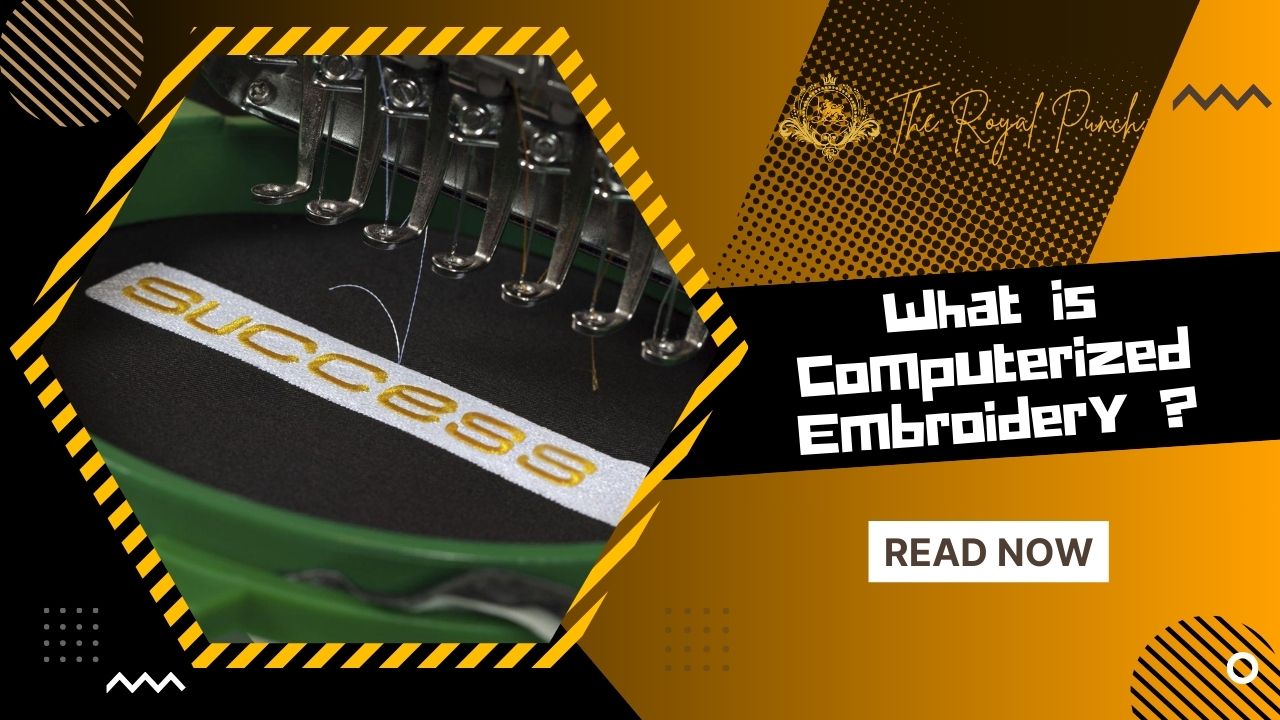
In simple terms, computerized embroidery is embroidery done by a machine that follows a design created or uploaded on a computer. Instead of manually stitching every thread, the machine reads the design from the computer and automatically sews it onto your fabric.
Here’s how it works: you either create a design using special software or download one from the internet. Then, you send this design to your embroidery machine. The machine follows the exact pattern and stitches the design onto the fabric perfectly. This process is fast, accurate, and saves you a lot of effort!
The Evolution of Embroidery: From Hand to Machine
In the past, embroidery was done entirely by hand. People would spend hours, days, or even weeks working on a single design. And if you made a mistake, it could ruin the whole piece. While hand embroidery is still valued for its personal touch, it’s not always practical, especially for large projects.
Things started to change in the 1980s when embroidery machines became connected to computers. This allowed for more precise designs and faster stitching. Over time, machines became more advanced and user-friendly. Today, computerized embroidery is accessible to everyone—from hobbyists making a few pieces at home to professionals producing large orders for businesses.
Why Is Computerized Embroidery So Popular?
You might wonder why so many people are switching from hand embroidery to computerized methods. The answer is simple: it’s faster, easier, and opens up more design possibilities. Let’s take a closer look at why computerized embroidery is so popular:
1. It Saves Time
With hand embroidery, stitching a complex design can take hours or even days. Computerized embroidery, on the other hand, can complete the same design in minutes. The machine does all the stitching for you, so you don’t have to spend endless hours on a single project.
2. It’s Always Accurate
When you’re stitching by hand, it’s easy to make mistakes. Maybe a stitch goes in the wrong place, or the design doesn’t turn out as even as you wanted. With computerized embroidery, the machine follows the design exactly, meaning your stitches are always perfect. You get a flawless result every time.
3. You Can Create More Complex Designs
Some designs are just too complicated to do by hand, especially if they have many colors or small details. A computerized embroidery machine can handle these complex designs with ease, stitching them out precisely as you designed them. You can also work with more colors and intricate patterns that would take forever by hand.
4. It’s Cost-Effective
Once you invest in an embroidery machine and software, you can create as many designs as you want without extra costs. You won’t need to pay for labor, and if you’re running a business, you can produce a lot of items quickly. This makes computerized embroidery a smart investment for anyone planning to do a lot of embroidery work.
What You Need to Get Started with Computerized Embroidery
Ready to try computerized embroidery for yourself? You’ll need a few essential tools to get started. Don’t worry—you don’t need a long list of expensive equipment. Here are the basics:
1. Embroidery Machine
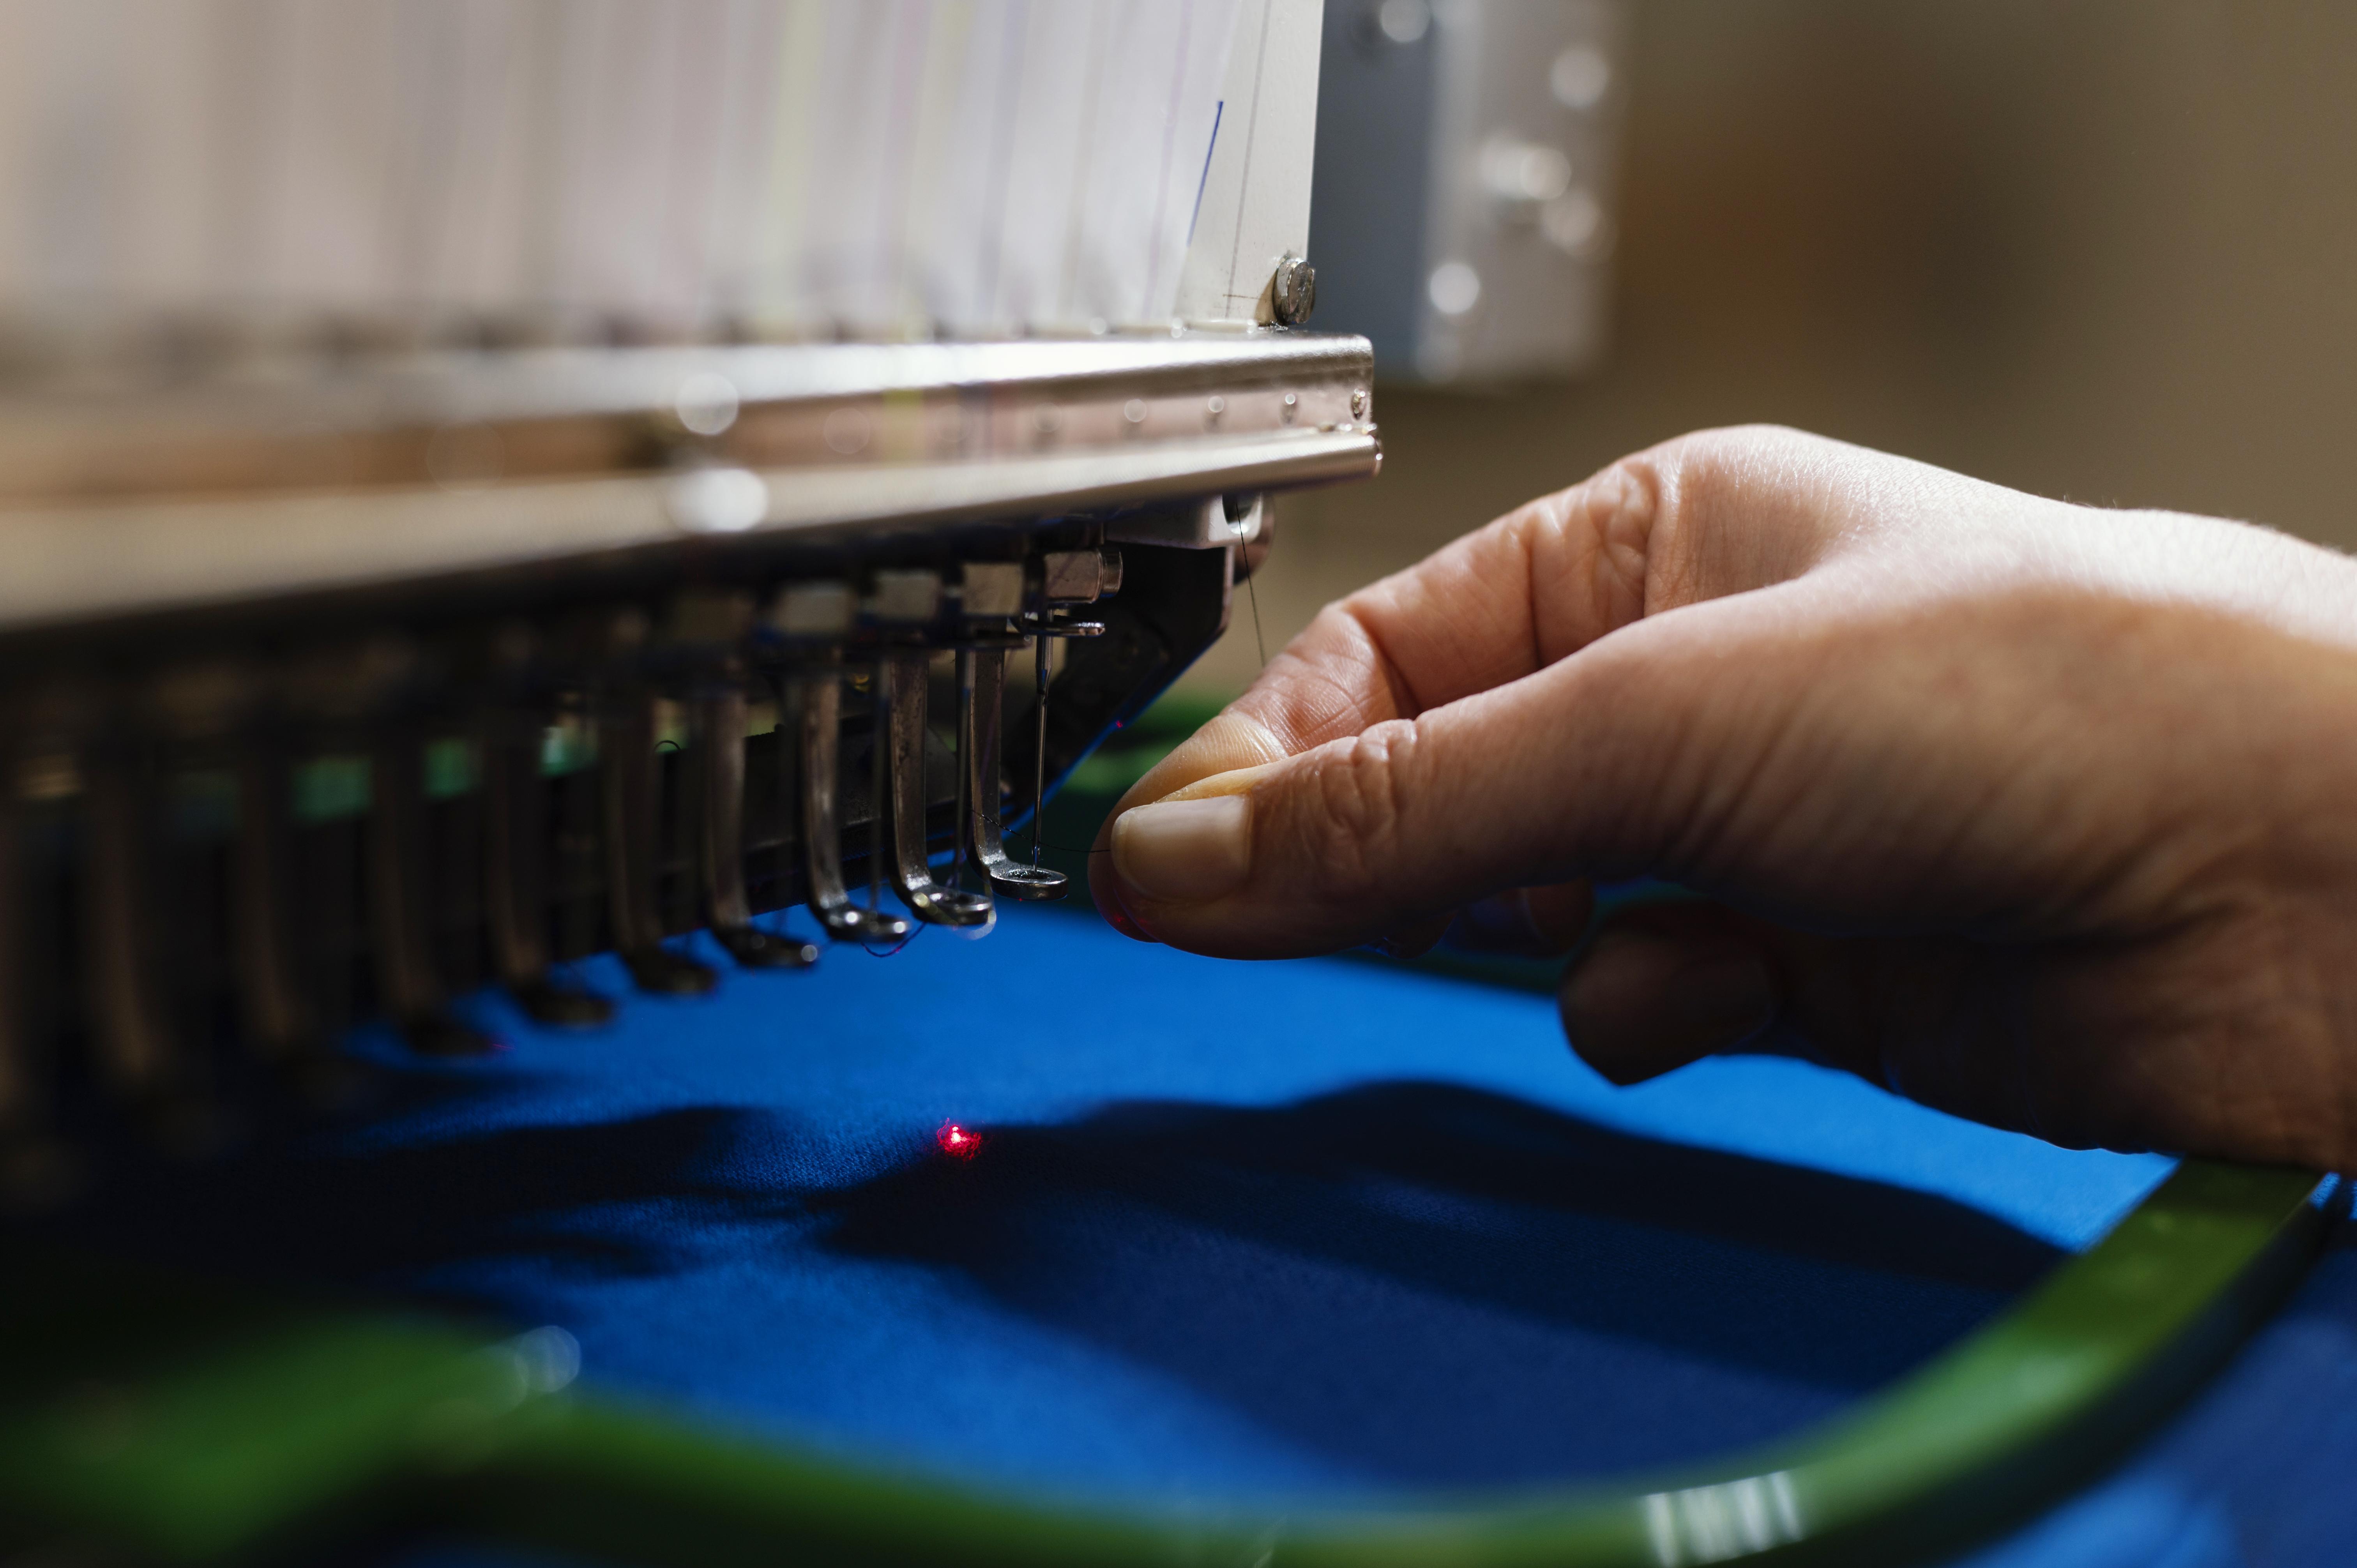
This is the most important tool. An embroidery machine stitches your designs onto fabric, following the pattern you’ve uploaded from your computer. There are different types of machines, so choose one that fits your needs. If you’re just starting out, a single-needle machine is perfect for beginners. It’s simple to use and affordable. For more complex designs or faster production, a multi-needle machine is better.This is the Importance of Embroidery Digitizing machine.
2. Computer or Tablet
You’ll need a computer or tablet to create or edit your designs. Most embroidery software runs on a computer, but some can work on tablets too. Make sure your device can handle the software you choose to use.
3. Embroidery Software
Embroidery software is where you create, edit, and finalize your designs before sending them to the machine. There are many software programs to choose from, some of which are beginner-friendly and others that offer more advanced features. Hatch Embroidery and Brother PE-Design are popular choices for beginners because they are easy to learn and use.
4. Hoop
A hoop holds your fabric tightly in place while the machine stitches your design. Without a hoop, the fabric could move, causing mistakes. Hoops come in different sizes, and the one you use will depend on the size of your design.
5. Stabilizer
A stabilizer is placed under your fabric to prevent it from stretching or moving while the machine works. It keeps the fabric firm and stable, helping to ensure even stitches.
Choosing the Right Tools: Machine and Software
Choosing the right machine and software can be tricky, especially with so many options available. Here are some tips to help you pick the best tools for your needs:
Start Simple: If you’re a beginner, choose software that’s easy to use. Complex software can feel overwhelming at first, so it’s better to start with something user-friendly. Once you get comfortable, you can always upgrade to more advanced tools.
Check Compatibility: Not all software works with every embroidery machine. Before buying any software, make sure it’s compatible with your machine. Check the file formats your machine accepts (like.DST or.PES) and choose software that can save designs in those formats.
Stick to Your Budget: You don’t have to buy the most expensive machine or software to get started. Many affordable options work great for beginners. As you gain more experience, you can always invest in better tools.
How to Prepare Your Design for Embroidery
Once you have your machine, computer, and software, it’s time to prepare your design for stitching. Here’s a simple step-by-step guide to help you get started:
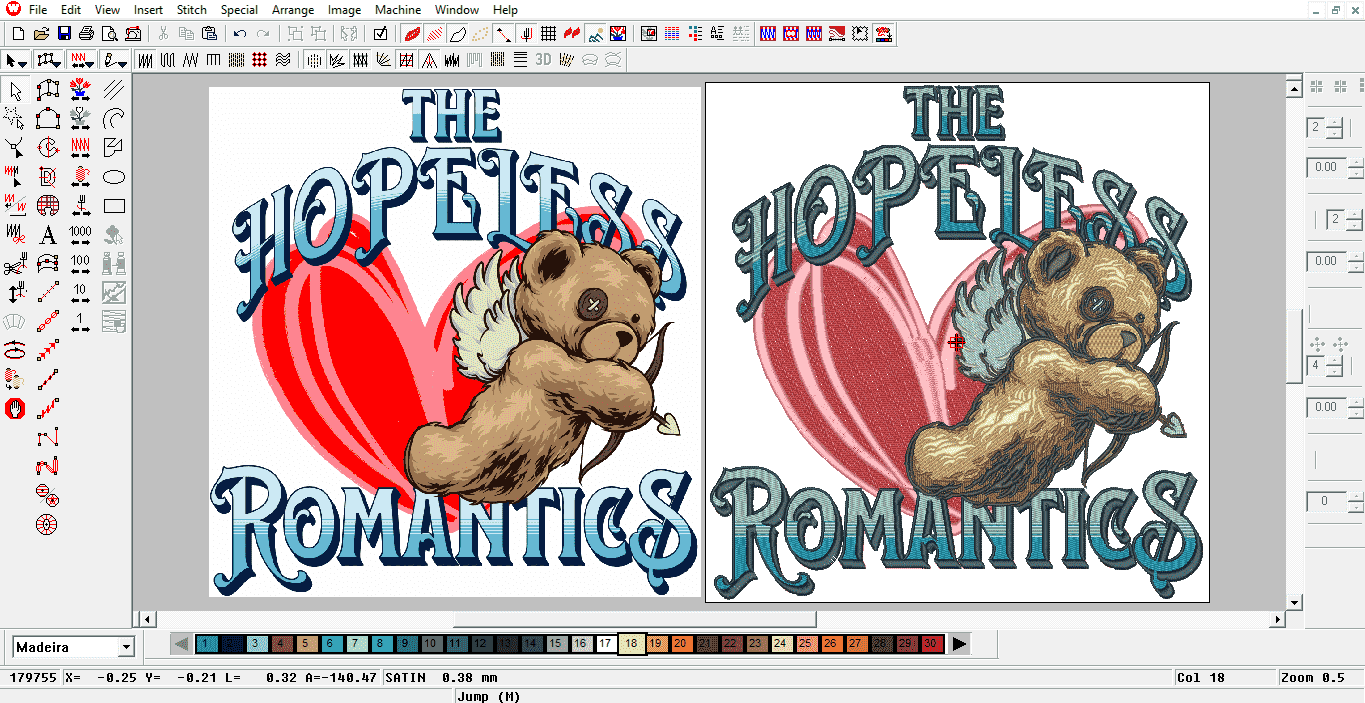
Create or Choose a Design: Use your embroidery software to create a new design or download one online. Many embroidery software programs come with built-in designs, or you can purchase additional designs from online stores.
Save the Design in the Right Format: Your embroidery machine will only understand certain file formats, such as DST or PES. Make sure to save your design in the correct format for your machine.
Pick the Right Fabric: Different fabrics work better for different designs. Choose fabric that’s suitable for embroidery, like cotton or linen. Avoid fabrics that are too stretchy or thin, as they might not hold the stitches well.
Use a Stabilizer: Place a stabilizer under your fabric to keep it from moving or stretching during stitching. This will help ensure even stitches and prevent mistakes.
Hoop the Fabric: Put your fabric in the embroidery hoop and make sure it’s tight. A tight fabric will make it easier for the machine to create clean, even stitches.
Operating a Computerized Embroidery Machine: Step-by-Step Guide
Now that you have your design and fabric ready, it’s time to use your embroidery machine. Here’s how to do it:
Upload the Design: Connect your computer to the embroidery machine using a USB or cable, and send the design over to the machine.
Thread the Machine: Follow the instructions to correctly thread your machine. Make sure you’re using the right color of thread for your design.
Attach the Fabric: Place your hooped fabric onto the machine’s stitching area, making sure it’s secure.
Start the Machine: Press the start button and let the machine do its magic! Keep an eye on it to make sure everything is going smoothly.
Finish and Enjoy: Once the machine is done, remove the fabric from the hoop, trim any excess threads, and admire your beautiful new design!
Conclusion
Computerized embroidery is an amazing way to create beautiful, detailed designs quickly and easily. Whether you’re just starting out or have been doing embroidery for a while, using a machine takes the hard work out of the process while giving you professional-quality results.
With the right tools, like an embroidery machine, software, and fabric, you’ll be creating stunning designs in no time. So go ahead, pick a design, and start stitching your next embroidery masterpiece.


